Sea Glass Luminary

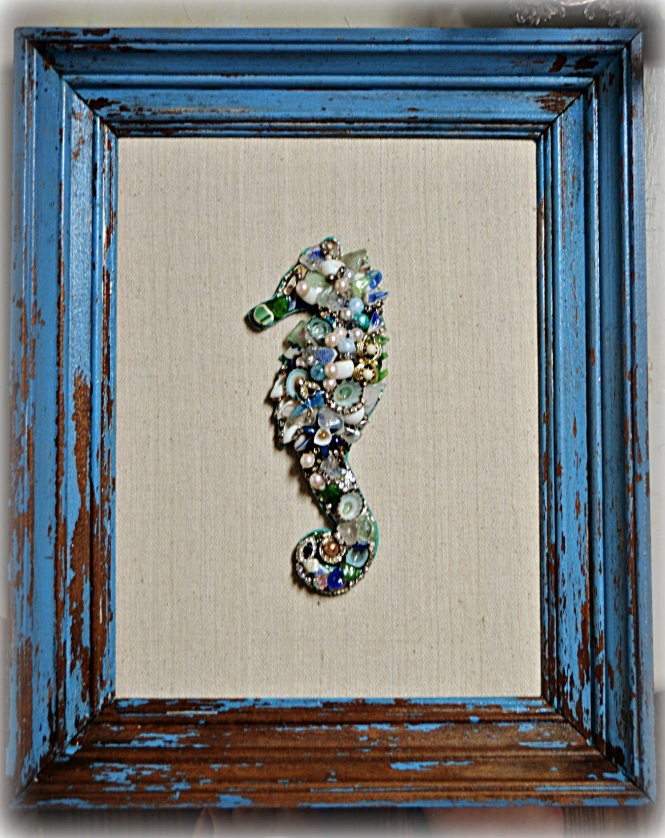
I always have a ton of sea glass,  so I made a pretty way to display it.

Easy Sea Glass Luminary

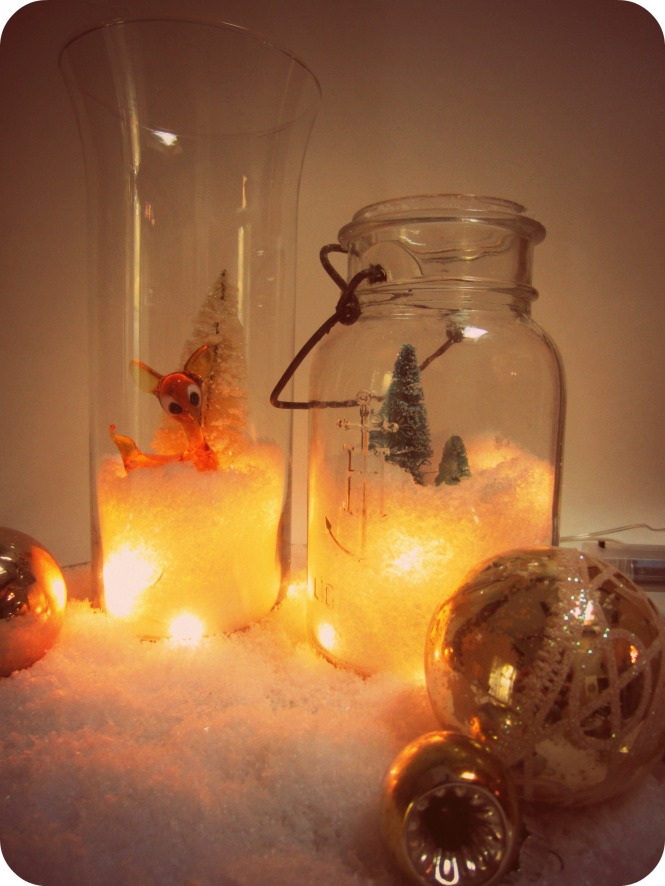
Already had a vintage anchor mason jar on hand with holes drilled for the string lights. 

Easy Sea Glass Luminary

For my easy tutorial on drilling the glass,
 {click here}

DIY snowglobe


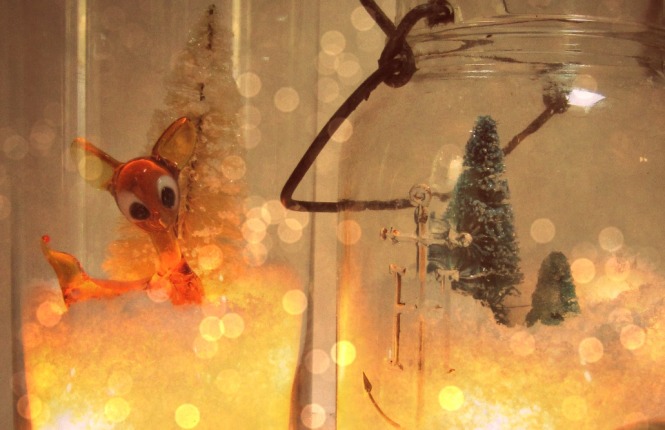
 What a fun little light!  Looks so pretty in the bookcase!

Love the way the light shines through all the beautiful colors of glass!

Easy Sea Glass Luminary

Easy Sea Glass Luminary

Thanks for visiting!   -Rebecca

Shabby Kitchen Pantry Redo

I bought this solid wood armoire on Craigslist for $40..including delivery!

Shabby Kitchen Pantry Redo

Perfect for the kitchen pantry storage I need and don’t have in my small kitchen space!

Sorry I didn’t get a “before”, I was excited to get started, and forgot to take a before picture.  All I’ve done here is prime the knots in the wood with Zinsser Primer. 

Shabby Kitchen Pantry Redo

I cleaned out the cabinet with vinegar and a clean cloth and let dry.

Shabby Kitchen Pantry Redo

 I then primed the entire cabinet, inside and out.

(Note: It took me about 4 coats of primer to cover the knotty pine. Even using a great primer such as Zinsser, which is a stain blocker!   Don’t get discouraged, eventually, the knots will stop bleeding through, and Zinsser dries pretty quickly!)

Shabby Kitchen Pantry Redo

Then I made some chalk paint with some leftover white paint. Directions for making homemade chalk paint can be found HERE. I did two coats of the chalkpaint, letting it dry a day between coats. (Although, this is summer in the very humid Key West, a climate with less moisture in the air may take less drying time!)

I sanded the edges with medium grit sandpaper to give it a lightly distressed look.

Shabby Kitchen Pantry Redo

Wanted to give the back a pop of color. Started with the same blue used on my walls.

Shabby Kitchen Pantry Redo

Added a pattern with a stencil. I purchased this one at Cutting Edge Stencils. They’ve got some great patterns, and they are super easy to use! I know this isn’t perfect, but hey, its hard to paint way in the back of a cabinet 30 inches deep!

Shabby Kitchen Pantry Redo

And you can’t tell after I filled it in with all these beautiful vibrant colors!

Shabby Kitchen Pantry Redo

I added some decorative shabby appliques purchased on eBay at Do It Yourself Chic. They have some really great appliques that will turn any boring or outdated furniture into fabulous! Highly recommend trying these out if you haven’t yet!

Aging Furniture Appliques

Always attach appliques on a flat surface using E6000. I don’t care what anyone says, it’s the strongest adhesive out there!

Shabby Kitchen Pantry Redo

I used Satin Polycrylic Glaze to finish the cabinet, and added a mishmash of leftover knobs..

Shabby Kitchen Pantry Redo

(It dries fast, and cleans easily. Another great thing about Polycrylic? It’s tintable!)

On one side, I added some S Hooks to give me a little more room for hanging pans..

Shabby Kitchen Pantry Redo

And on the other,  a lazy susan to access stuff on the back of the shelf.

Shabby Kitchen Pantry Redo

I’ve got plenty of room for all my pantry goods now! No more trying to figure out where I stashed what!

Shabby Kitchen Pantry Redo

Have even more storage on the top for some canisters and a bread bin..

Shabby Kitchen Pantry Redo

I love how this came out! Functional AND pretty!

Shabby Kitchen Pantry Redo

I added a pretty curtain between the wall and the pantry using a small tension rod to hide my mop and broom.. no closets in my little cottage!

Shabby Kitchen Pantry Redo

Thanks for visiting!

-Rebecca

Easy Shabby Chic Rag and Crystal Chandelier

A long overdue rainy day here in Key West.  Time to get to one of my many projects that I’ve been meaning to get to..(I know you all have a closet full of them, I can’t be the only one!

Finally my plants are happy! It’s been so unusually dry this month.

DIY Rag Chandelier

I bought this shade a few years ago, and it’s too big for any lamps in my small cottage. Been saving it for a project just like this! The hanging bulb.. it was for one of those hanging Ikea-ish paper lanterns that I picked up at a yard sale sometime way back..

DIY Rag Chandelier

I removed the fabric from the shade with an Exacto knife.

DIY Rag Chandelier

I used twine to tie the bones together…

DIY Rag Chandelier

And added my ever trusty E6000 to secure the knots.

DIY Rag Chandelier

Maybe not necessary, but I’d rather be safe than have all my hard work come crashing down!

DIY Rag Chandelier

I cut some old cotton sheets into 1 inch strips,

DIY Rag Chandelier

and cut off the seams while Elliot supervised.

DIY Rag Chandelier

I tied the strips onto the frame

DIY Rag Chandelier

and added some scraps of ribbon.

DIY Rag Chandelier

I had some leftover chandelier prisms from my Pirate Ship Chandelier so I added those too.

DIY Rag Chandelier

Because I was feeling lazy, I attached them to the frame using some necklaces..

DIY Rag Chandelier

But hey, they were free!  They came as a bonus gift on an E-bay purchase, and saved me the time of tying on fishing line. (But anything would do..what do you have around the house, get creative!)

DIY Rag Chandelier

So I finished my rainy day project while Elliot  took a long nap.

DIY Rag Chandelier

I may decide to add some shells, but that’s a project for another day.  Any thoughts? Thanks for stopping by!

DIY Rag Chandelier

DIY Shabby Mermaid Bust

DIY Mermaid Bust

Recently I was reviewing my Pinterest Pins.

anchorck

One of my repinners had said regarding my anchor,

“Beach  decor- can’t decide if it’s tacky or cool! Might be a great thing to do with all the costume jewelry I’ve gathered!”

 Shabby Beach/Coastal Cottage may not be for everyone, but I love it.  If you don’t love it, stop reading right here,  cause you’ll definitely hate this project!

My mom found this bust at a salvage shop. Pretty, but it sat there for a while before I decided what I wanted to do with it.

DIY Mermaid Bust

Nice, but I wasn’t thrilled with the bow on top of her head (which I later realized you can’t see in this picture!)

Then I thought, how cute would she be if I made her a mermaid?

DIY Mermaid Bust

Supplies needed:

  • A bust. This one was found at a salvage shop.
  • E6000 adhesive (Don’t even try this with another glue. You’ll have wasted a lot of time.)
  • A small paintbrush.
  • Judykin’s Diamond Glaze
  • Various shells, sea glass, coral
  • Gluegun/gluesticks
  • Aluminum foil

Start by squeezing a bit of E6000 onto a piece of foil. Just dab a shell into the E6000, really just a little is all it takes. Squeeze a couple of dots of hot glue on top of the E6000. Press to your figurine for a few seconds.  The E6000 forms the permanent bond, the hot glue forms the “fast bond”.  Alone, the silicone based E6000 will slide around, but not when topped with the hot glue. Really, try it!

I started my figurine with one of my leftover Vintage Jewelry Starfish from my Christmas sale, and worked my way around her head. I realize not everyone has previously made Vintage Jewelry Starfish lying around, but get creative. An old brooch would look great, or a starfish covered in glass glitter.. or just leave it out. I like that it creates a unique focal point.

Shabby Mermaid Bust

Add, layer, fill in the spots…

Shabby Mermaid Bust

Shabby Mermaid Bust

 I added Limpet Shells at the bottom to create a “Mermaid Scale” look..

Shabby Mermaid Bust

Shabby Mermaid Bust

Next.  You’ll have spider web strands of glue everywhere..anyone that’s ever used a glue gun knows what a pain they are!  But did you know if you hit it with a blow dryer, pouf! They’re gone!

close up

Lastly, Judykin’s Diamond Glaze,  I love this product so much!  It’s a very thin, very clear(non-yellowing) adhesive/top coat. It just kind of insures it’ll all stay together. Drip some out of the bottle, and spread out with the paintbrush. Work in small areas, letting dry in between.

Shabby Mermaid Bust

And she’s done!  Just love how she came out!  Now.. To sell, or keep?

                Thanks for visiting!   -Rebecca

Shabby Mermaid Bust

Shabby Mermaid Bust

DIY Mason Jar Illuminated Snow Scene

Make these Mason Jar Illuminated Snow Scenes, it’s easier than you’d think!  Having grown up in snowy New England, I’ll always miss snow..but only around the holidays!  So I always bring snow into my holiday decorating. What a nice way to display a collection of bottle brush trees or some glittery  putz houses!  Read on to find out how!


snowglobe3


I feel like everyone is afraid to drill glass. Its easy, I’ll show you how.

What you’ll need:

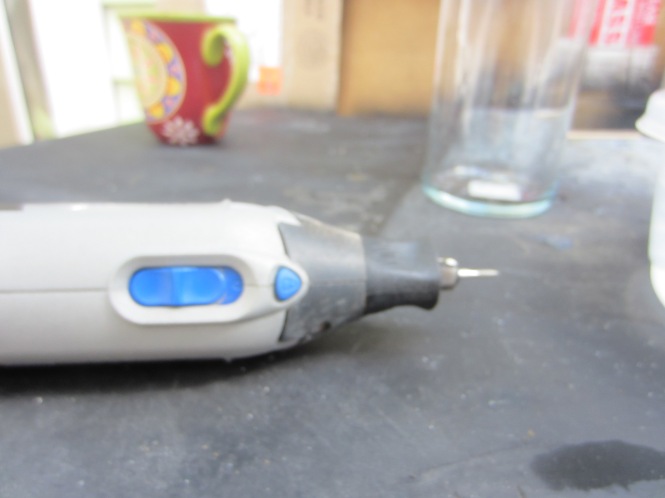
Dremel

Dremel Diamond Drill Bits (these are made for drilling through glass)

Glass Vase

Artificial Snow

Battery Operated Wired Led String Lights

Plastic Bowl of Water


Set out your materials. I did this demonstration with a glass vase from the dollar store. Look at it this way, if you mess it up on your first try, you only lose a dollar! If you aren’t familiar with drilling glass, try this before moving on to a vintage vase or jar.


Sorry my workspace is so messy!

Set out a plastic bowl of water big enough for the vase to sit in. The key to glass drilling is both the glass and the drill bit need to be wet.  I’ve drilled underwater like some will recommend, but its not necessary. Read on..


Set vase in bowl. Figure out where you want your hole to be, somewhere close to the back on the lower half. Make sure you have on protective eyewear, or at least sunglasses(Ok, I never really needed them, if you keep your work surface wet, blasting won’t be a issue, but since this is a tutorial for beginners I shall tell you to wear them.. 🙂  Set your drill to a lower setting.  I like 5.  Slow and steady wins the race..


IMG_0197


Start drilling. Keep your wrist steady. The sludge that you see? Its the glass turning back into sand! It’s like the opposite of what the guy did in Sweet Home Alabama!! Really love that movie.. (and please don’t get me started on whether or not making sculptures is possible to do this way, I don’t care it’s just a movie!!)


I digress..so if you see sludge, it’s time to dip the vase and diamond bit in water, drill, sludge, dip, drill, sludge, dip…continue..go slow, you’ll be able to “feel” when you pop through.


When you have created your hole, check to make sure your lights fit through the opening.


Good to go? Clean and dry the vase out, and stuff the lights through the opening..


Then fill with snow, and whatever else you want! Oh the possibilities!


snowglobes


Glittered Palm Frond Christmas Tree Tutorial

vintage palm


Learn how to make a glittered palm frond tree in less than an hour.. perfect for any coastal themed holiday decor!  Want to know what I like most about decorating with trees?  You can put them up whenever, and leave them up till you feel like taking them down..trees are trees and make great year round décor.  Imagine how cute this would look on a coastal mantel at Thanksgiving!  Read on to find out how to make these with stuff you may already have around the house..

Stuff you’ll need:

-Palm fronds

-Glue gun

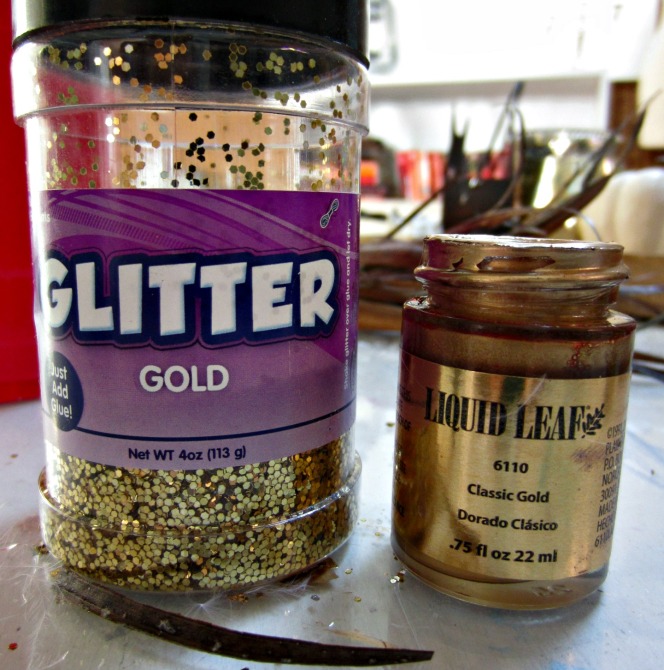
-Glitter (try the dollar store if you don’t have any)

-liquid gold leaf (can be found at any craft store or on Amazon for $8.46 prime shipping)

-cone shape (less than $2.00 at most craft stores)


Palm fronds can be found everywhere in Florida. We have a couple of coconut palms that are constantly shedding. Its a great natural product to use, and best yet, it’s FREE! If you don’t have a tree, just look around on yard waste pickup day..

 palm


Start by cutting pieces of palm frond. Its not an exact science, I cut mine in 1-4 inch lengths.


palm1


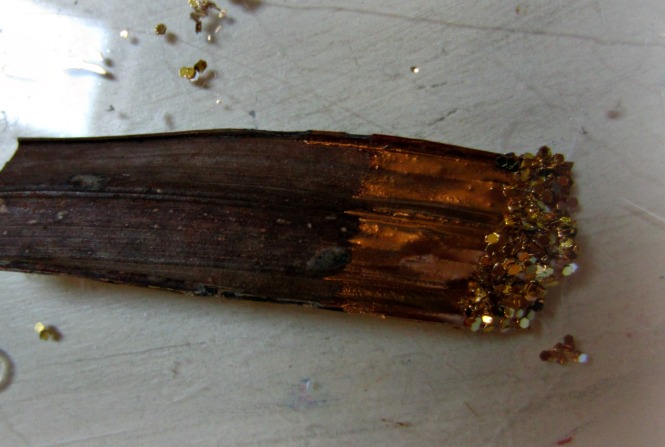
Dip a cut frond piece in the paint. If you have paint in a little glass vial like I used, just dip till it hits bottom, this will ensure the paint is even on all the fronds.  Immediately dip the painted end of the palm in glitter. The glitter will stick to the wet paint.


palm2


palm3


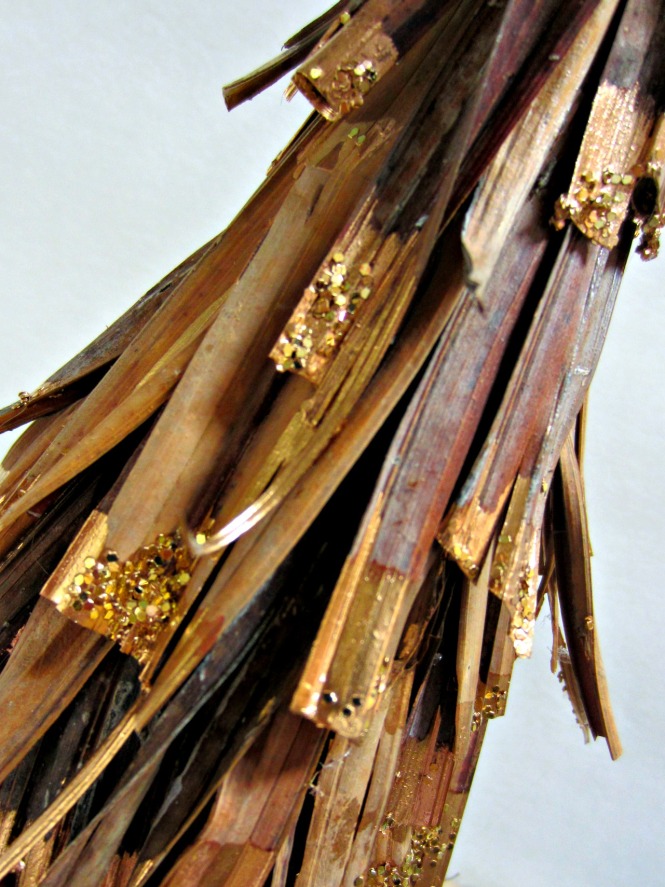
Dab a dot of hot glue to the unpainted end of the frond. Attach to bottom of cone so that the painted/glittered end brushes against the bottom. Repeat all steps, working your way first around the bottom, then up the tree. Go back and fill in any spots that look bare. Easy, right?


palm4

Glue gun tip:  Glue guns are messy. And I burn my fingers every time. Essential in my life however. When you are satisfied with how your tree looks, and are sure the paint is fairly dry, hit it with a hairdryer.  All those annoying stringy strands of spiderweb glue  will magically  disappear.


Go back and fill in any spots that look bare.


palmcloseup 


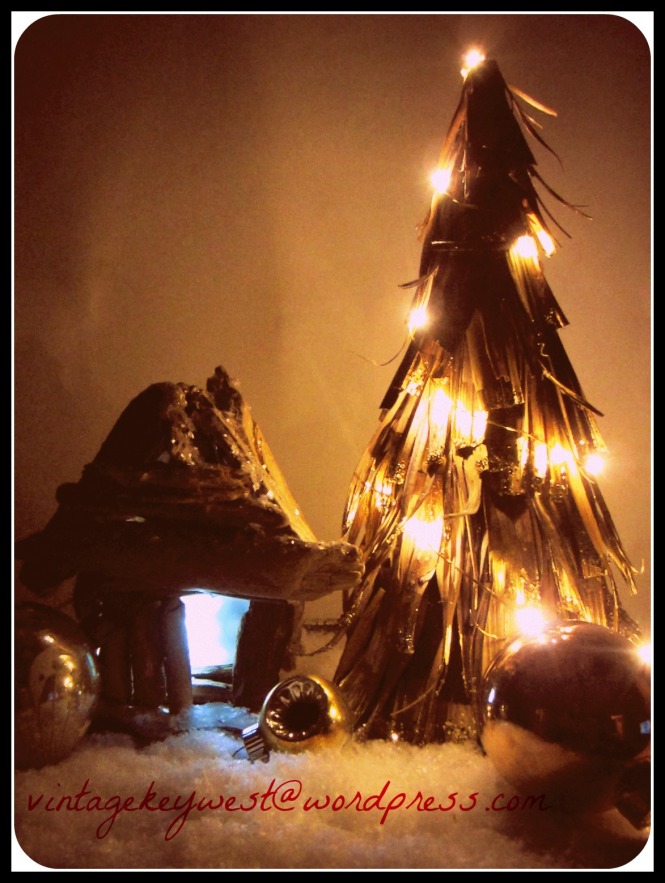
Love this!  Looks so cute displayed with my  tiny driftwood house!


palmfrondsepia


I may try another soon. I’d like to try to whitewash the fronds, and use silver paint and silver  glass glitter. What do you think?   Thanks for visiting VintageKeyWest!

-Rebecca

Vintage Inspired Feather Tree Tutorial

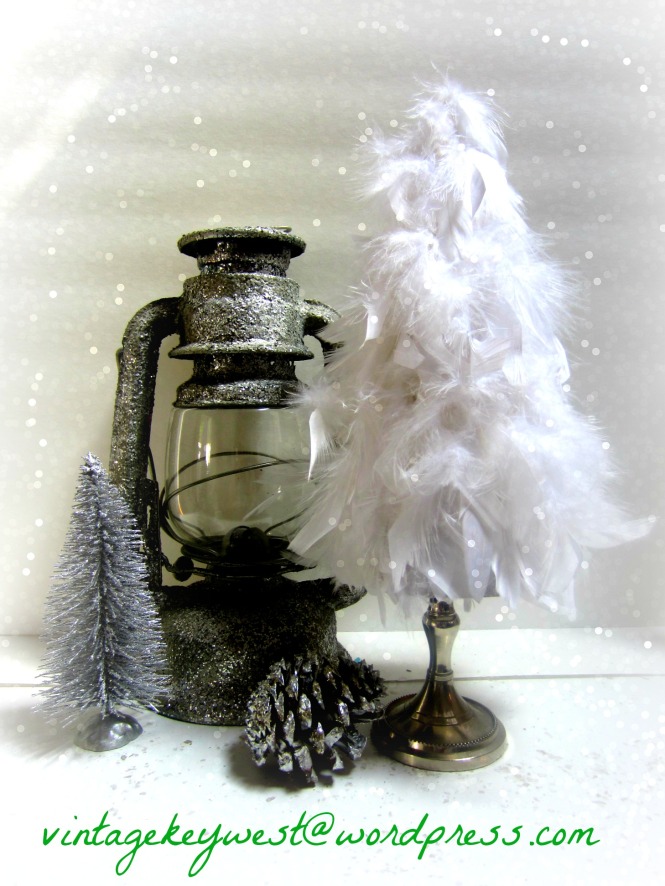
feathertree


Put aside an afternoon to make this adorable white vintage inspired feather tree! I saw what they go for in stores, (yikes!!) and decided I could do better for next to nothing!

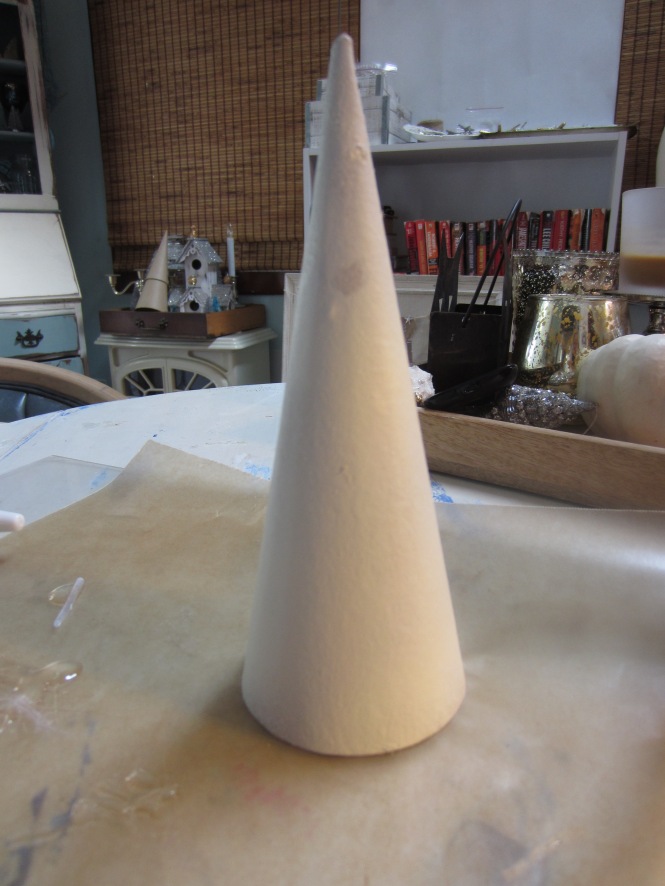
IMG_0079

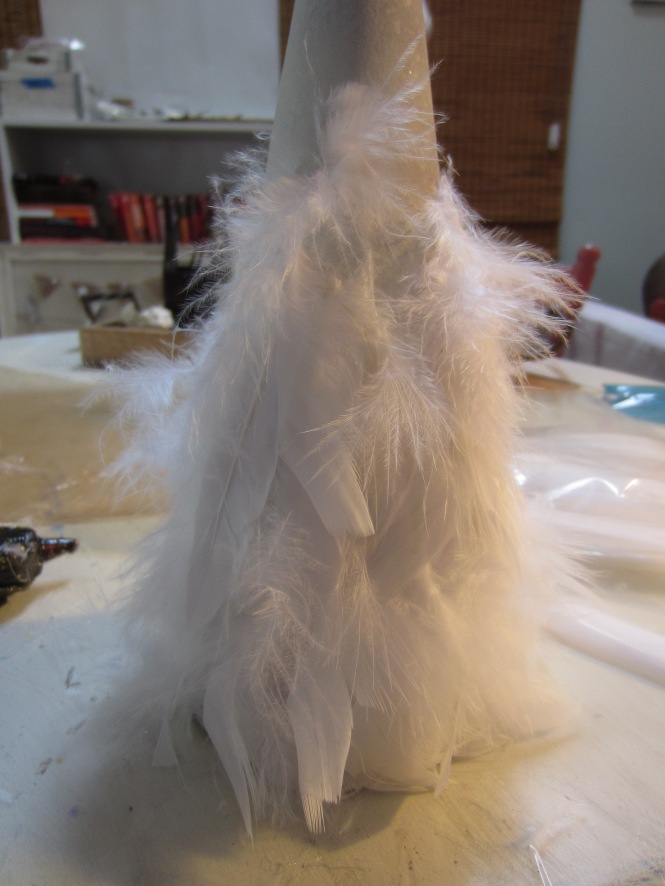
Started with a simple cardboard cone, spray painted white.  Any size will do. (DON’T try using a styrofoam cone. They don’t get along well with glue guns!) You can usually find cardboard cones at any craft store for under $2.00.

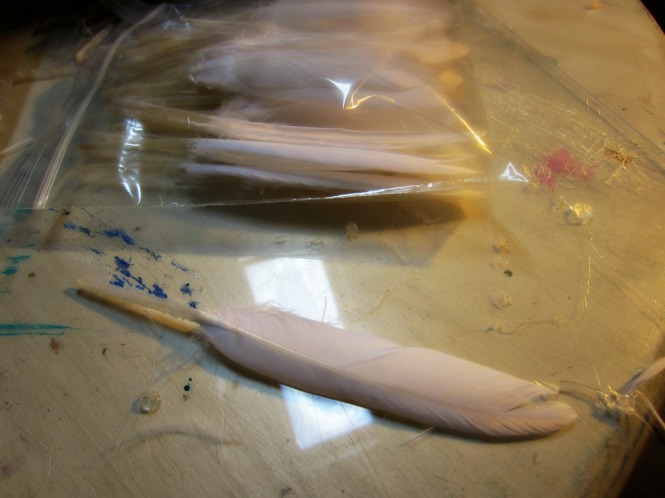
IMG_0082

I bought these 4-6 inch feathers on ebay from montana_echoes. I purchased 2 bags. It cost around $10.00 as they combine shipping. (Super fast shipping, will definitely be buying more from them!)

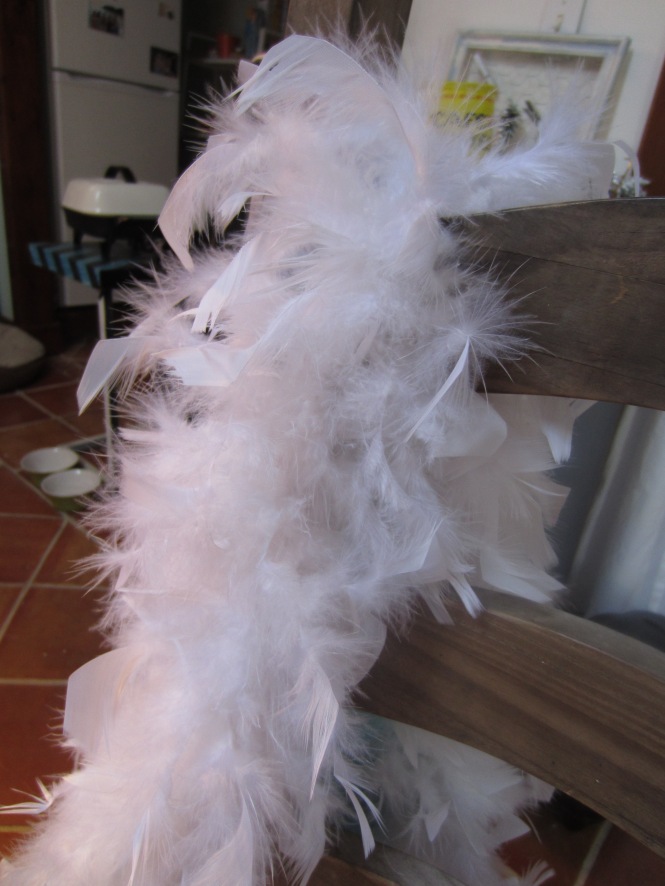
IMG_0083

This was a white boa I’ve had lying around waiting for me to do something with. Perfect for this project, and very inexpensive to buy.

IMG_0085

Get your glue gun ready. Don’t recommend a low heat gun for this, I feel low heat guns never get hot enough. But I did burn most of my fingers. (If anyone has a recommendation for NOT burning fingers while gluing feathers I’d love to hear it!) Anyways, I just started at the bottom alternating between the wing feathers and cut off pieces of the boa feathers, gluing one at a time, and worked my way up. Don’t get discouraged if it looks lopsided when you get to the top. Mine did, but then I just kept filling in the barer spots until I was happy with it. LOVE, LOVE, LOVE how this came out!  Cost me under $10 using mostly stuff I had on hand, but would still cost under $15 if you were buying all the supplies!  Such a classic look.

Thanks for visiting, and happy crafting!

feathertree